Setting up Travis
In the last post I went over the tools used for testing, continuous integration and cloud deployment together with a small explanation why exactly I chose those tools to use. In this post I’ll go more into detail about Travis (which is one of the tools used next to Cypress and Heroku). The explanation won’t be exhaustive, but I’ll just note what struck me most while incorporating Travis in the easy newspapers project. For all of the tools used excellent documentation is available.
A tool not mentioned explicitly below is Git for version control. However, it made writing this post way easier. One of the Git best practices which helped me most collecting the notes for this post was having small commits. A bad habit I picked up along the way was to almost unthinkingly use git add -A to stage all the untracked and modified files at once. This way I ended up with commits containing a hodgepodge of unrelated code together. By thinking about what I wanted to do before coding anything, then do it and stage only those files related to what I just did, I ended up with small, granular commits. Revisiting the code a few days after working on the web app was a breeze since I could go over the commits one by one and read it almost as a story.
Continuous integration
As mentioned, for the continuous integration part I chose to use Travis. But what’s continuous integration?
Continuous Integration is the practice of merging in small code changes frequently - rather than merging in a large change at the end of a development cycle. The goal is to build healthier software by developing and testing in smaller increments.
This is where Travis CI comes in. As a continuous integration platform, Travis CI supports your development process by automatically building and testing code changes, providing immediate feedback on the success of the change.
The keyword above is automatically. Each time a commit is pushed to GitHub a build on Travis is triggered. This build verifies if the code changes don’t break anything. This way you can always be sure you didn’t break anything majorly (provided you wrote good tests) which is frankly very relaxing.
Setting up Travis is very straightforward since you only need to add a travis.yml config file which looks like this:
language: node_js
node_js:
  - 10
addons:
  apt:
    packages:
      - libgconf-2-4
cache:
  npm: true
  directories:
    - ~/.cache
install:
  - npm ci
script:
  - $(npm bin)/cypress run
Language
The absolute minimum to have in a travis.yml file is having the language specified. Since we use Cypress to run our E2E tests which uses Javascript, I defined node as language. Cypress itself seems to advice to use node 10 so I just copied that suggestion, although node 13 is already available.
Phases
A job in Travis is a series of steps. A build is a group of jobs. In the travis.yml file install and script are phases in a job. Difference between the two is install will always run before script. In the install phase, the dependencies specified in the package.json file are installed. To install dependencies locally I normally use npm install but on any CI platform it’s better to use npm ci. The npm ci command differs from the npm install command in that it is more strict (e.g. it always removes existing node_modules directories before) and also is a bit lighter than npm install because it doesn’t install user-oriented features (but I wasn’t able to trace down what exactly those user-oriented features are).
Installing extra dependencies
Cypress needs libgconf (used for storing application preferences) to work properly, but this package is not included in the default version of Ubuntu. You could do something with apt-get in the before_install phase of the build but you can accomplish the same more easily by using the apt addon available in Travis.
Caching
Originally I just copied the Travis configuration as adviced by Cypress. This configuration contains the following lines:
cache:
  npm: true
  directories:
    - ~/.cache
In the Travis caching documentation I discovered these lines can actually be omitted since npm is omitted by default since July 2019. Running the build without this caching configuration however seemed to increase the build time somewhat.
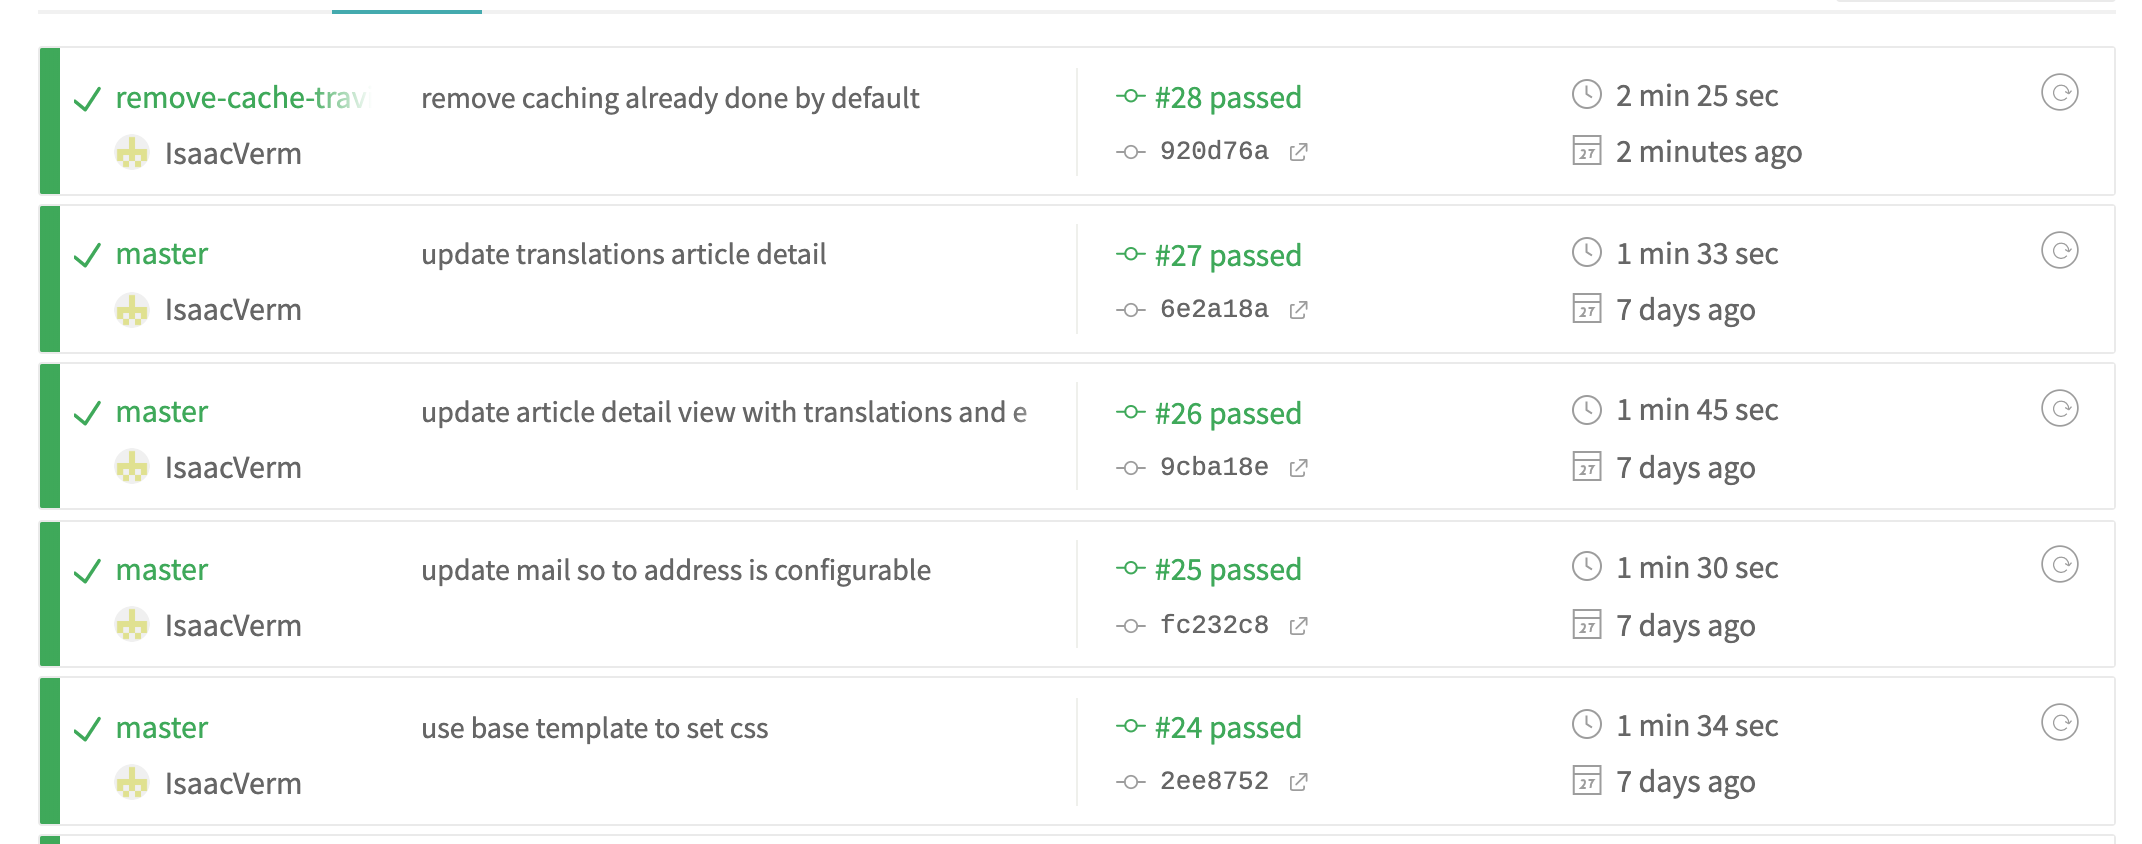
Since the build now takes half a minute more to finish, I decided to keep the explicit caching of npm.
Deployment
Travis can easily integrated with other services. For example an integration with Heroku is available which makes it easy to deploy after a succesful build. However, I chose to use another approach in which:
- I deploy to Heroku without checking anything
- run tests on Travis against this deployed Heroku version
I treat the version on Heroku as disposable so it doesn’t matter too much if a broken version is deployed. You can always revert to a previous working version (and you know which version worked before because of CI, magic!). This way I can keep the CI part as lightweight as possible, without having to specify multiple jobs. Originally I had an approach with multiple jobs:
- job running local version of the web server
- run tests on Travis against this local version
To my shame I had to discover the job running the tests had no access to the locally running version of the web server. If I’d done a bit more upfront research I would have quickly realized my mistake but in practice it took some time before I came to realize my gaffe.
Build not fully customized
The Travis build process can be customized to a great degree but in this project I did not take advantage of all of the options. For example I did not specify any branches to build which means by default any branch will be build. This can be annoying if you’re experimenting with separate branches which are tested each time even though you know it’s still work in progress.
If the project would get better, it would make sense to revisit this travis.yml file to make it more customized to the specific needs (don’t build all branches, ,…).
Summary
Using Travis is at the same time very easy in the sense that you only need a single configuration file to get started. On the other hand, by informing yourself about all the options available you can accomplish a lot in a succinct way.
I learned continuous integration is not some long term thing but can already pay off dividends in the short run. Since on every push to Github the tests run, you immediately get notified if something goes wrong. Even if you think nothing could have gone wrong. A good example where CI saved me from a frustrating debugging session is this commit where I forgot to add the atoma package to the requirements.txt (specifying the packages to install for our Python web app). Locally I had this package installed so everything ran smooth. However, since CI starts from a clean slate each time, it based itself on the requirements.txt file checked into version control. Here of course the required package was mentioned. The app broke down, but I could immediately handle the issue since the commit was small and the error message on CI was clear. If I would have continued developing locally I wouldn’t have noticed anything. Untangling the mess surely would have taken some time.